Add AttendeeFrom the Event Grid select the event you want to manage and select the  button. button.
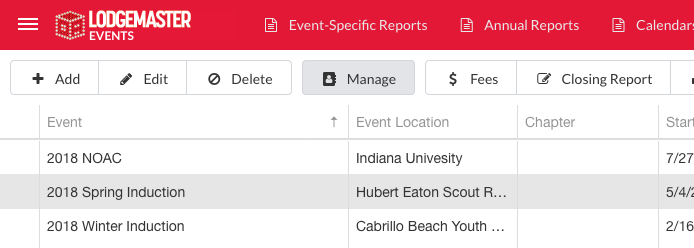
The your event attendance grid will be displayed. Select the  button to add an attendee. button to add an attendee. 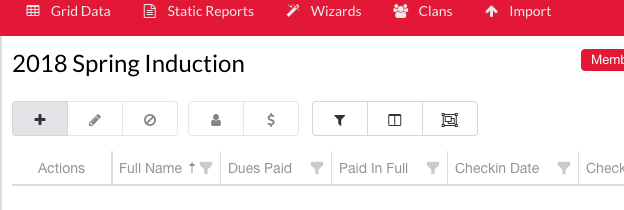
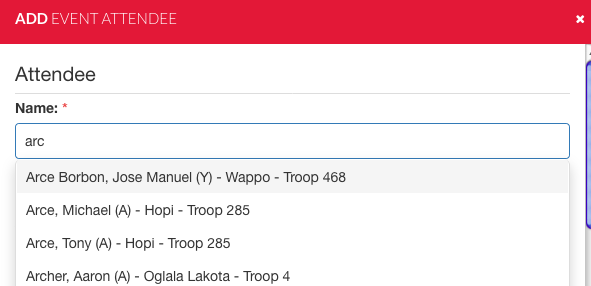
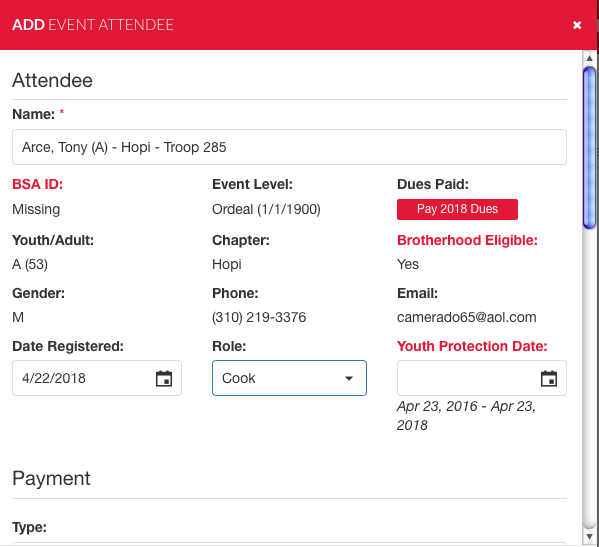
Type in a members name and select the member you want.
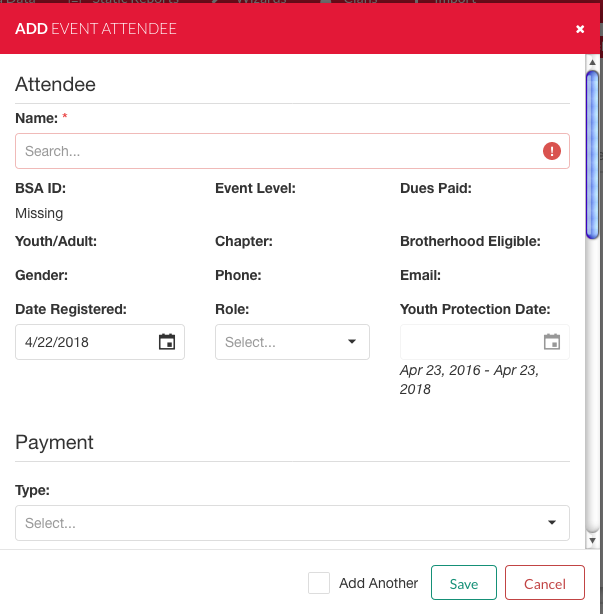 
After you indication the member your screen will populate a number of fields and indicate items that need attention in red. When you get to the point of check-in you can take care of these updates and using the  button you can collect the dues. button you can collect the dues.
Scroll down the window to take any pre-event payments. Select the Type pull down to indicate the fee you are recording and the Paid Amount will fill in and the  check box will fill in. Indicate the Payment Date, the Payment Method and if needed a Receipt Number. If the person will pay at the door select the check box to indicated that payment has not been taken and will be collected at the Check In. check box will fill in. Indicate the Payment Date, the Payment Method and if needed a Receipt Number. If the person will pay at the door select the check box to indicated that payment has not been taken and will be collected at the Check In. 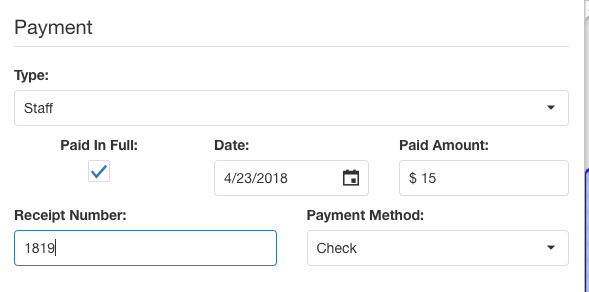
In most cases you are done and will select the Save button, but if you are going to add more attendee's you can select the Add Another button before you select Save. 
When complete you will be back to the event attendance grid with your need attendee in the list. 
Import AttendeesYou can import attendees from a spreadsheet by following these directions.
| 